Achieving the 'Built-In' Look: DIY IKEA BILLY Bookcase Hacks for Custom Shelving
The hum of a table saw, the faint, sweet scent of sawdust mingling with primer – these are the subtle orchestrators of transformation. For many of us, the desire for custom cabinetry, those perfectly integrated shelves that look as though they’ve always belonged, feels like a distant, extravagant wish. We picture the tidy rows of books, the display of cherished objects, all framed by elegant millwork. But then reality sets in: the prohibitive cost, the disruptive construction. This yearning for a truly personalized space doesn't have to remain a fantasy. There's a humble, ubiquitous flat-pack solution waiting in plain sight, a chameleon of the home furnishing world, capable of astounding metamorphosis. It's the IKEA BILLY bookcase, and with a bit of ingenuity and some considered steps, it can become the cornerstone of your custom built-in dreams.
The Humble BILLY: A Blueprint for Bespoke Beauty
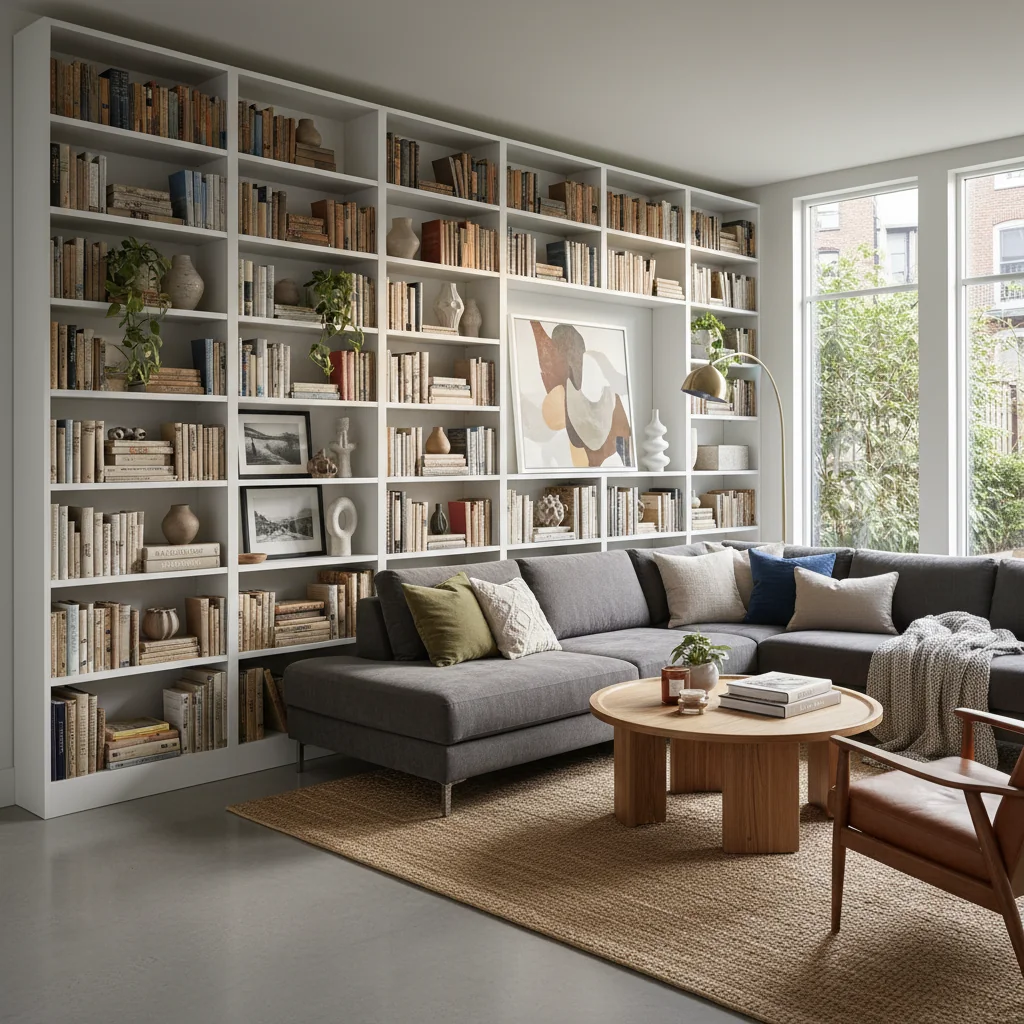
There's an almost magical quality to the IKEA BILLY bookcase. Its ubiquity often masks its profound potential. For years, designers have recognized it as more than just a place to stash paperbacks; it's a structural skeleton, a blank canvas awaiting intelligent design. Its clean lines and consistent dimensions offer a surprising foundation for something far grander than its price tag suggests. When I first began my "Small Space, Big Impact" series for *Urban Nestings*, I was constantly seeking ways to achieve that high-end aesthetic on the leanest of budgets. I recall a cramped studio apartment in Seattle’s Capitol Hill, where a young architect client yearned for a library wall, but funds were non-existent for custom joinery. I spent an entire weekend sketching, measuring, and then, quite literally, building a proof-of-concept using a pair of BILLY units. The satisfying click as the cam locks engaged, the solid thud of the first shelf settling into place – it wasn't just assembling furniture, it was laying the groundwork for a vision. The transformative power became evident as we integrated the units directly into the wall, creating a seamless flow that defied their origins. It was a revelation, not just for the client, but for me, solidifying my belief that intelligent design truly is accessible to all.The BILLY's inherent modularity is its greatest strength. Available in various widths and heights, these units can be combined and configured to fit almost any wall, nook, or alcove. Their relatively shallow depth makes them ideal for hallways or smaller rooms where bulkier units would feel oppressive, allowing precious square footage to breathe. This isn't about hiding the fact that you've used IKEA; it's about acknowledging the quality of the raw material and elevating it, giving it a voice that sings of thoughtful design and personal style, rather than shouting "assembly required." We’re tapping into a readily available, cost-effective resource and infusing it with character, purpose, and the undeniable charm of a truly personalized space.
Anchoring and Aligning: Crafting the Built-In Illusion
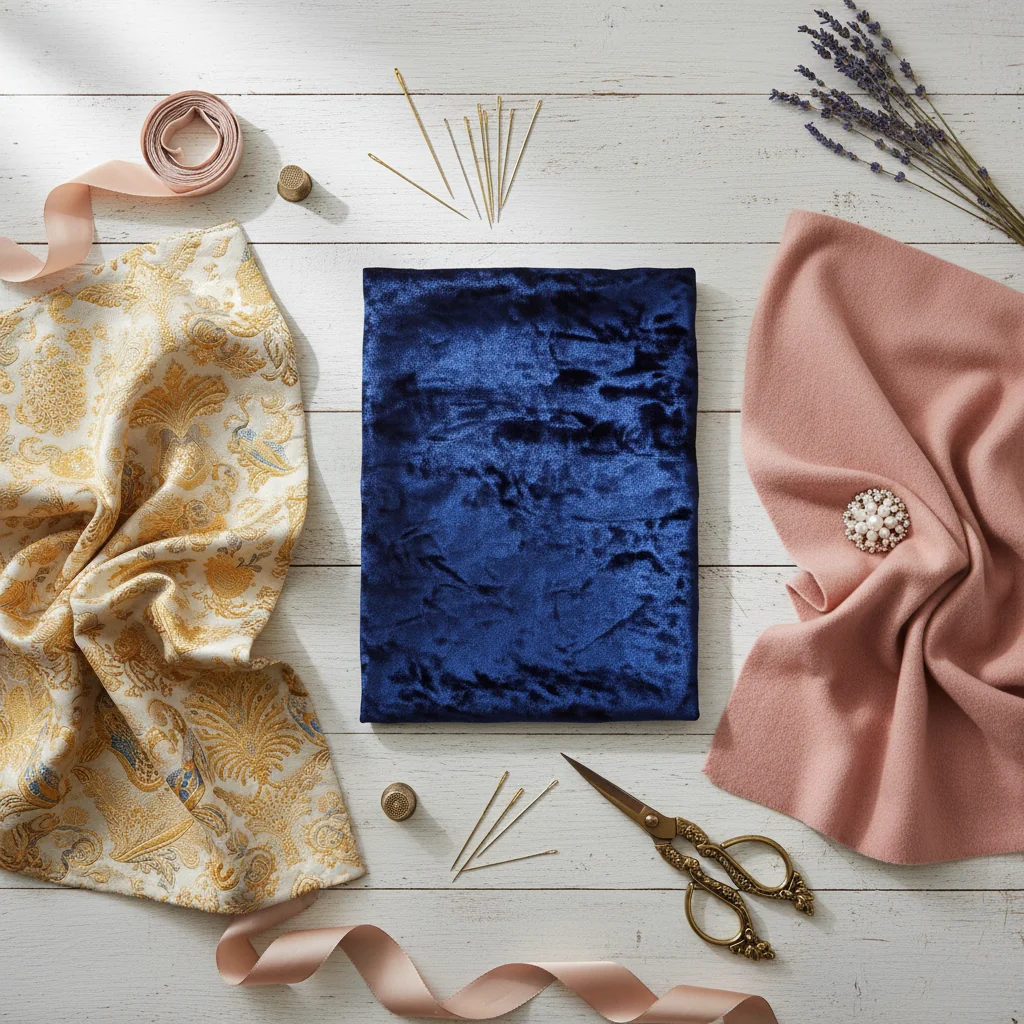
The secret to the "built-in" look lies in meticulous preparation and an unwavering commitment to integration. You want your BILLY units to appear as though they were carved directly from the wall itself, a natural extension of the room's architecture. This begins with proper anchoring. Forget the flimsy wall straps; we're aiming for permanence. Secure each unit directly into wall studs using long screws, ensuring they are perfectly plumb and level. This isn’t merely for stability; it's the foundational step towards a truly cohesive appearance. A slightly wobbly unit, even after the trim, will betray its humble origins. Precision here is paramount.Once securely fastened, the real magic of transformation begins with the addition of structural trim. Think of this as framing a masterpiece. First, add a simple wooden baseboard along the bottom front of the units, seamlessly matching or complementing your room's existing baseboards. This visually lifts the entire structure off the floor, giving it weight and substance. Next, bridge any gaps between multiple BILLY units or between a unit and the wall with vertical trim pieces. These can be simple strips of MDF or solid wood, painted to match the units, creating the illusion of a single, continuous piece of millwork. For an extra touch of sophistication, consider adding a thin, decorative molding around the front edge of each shelf. This minor detail adds architectural interest and mimics the heft of custom-built shelving. Don't underestimate the impact of these layers. They transform a series of flat-pack boxes into a singular, imposing structure. When you're considering finishes for the back panels, perhaps to add a pop of color or texture, remember that selecting materials that mimic high-end options can dramatically alter the feel. Explore options like High-End Fabric Dupes: How to Find Velvet, Linen, and Bouclé for Less to add an unexpected layer of luxury behind your displayed treasures. The tactile quality of a faux linen or velvet backing can introduce a surprising depth, a subtle whisper of opulence that elevates the entire arrangement.
The Art of Adornment: Finishing Touches That Fool the Eye
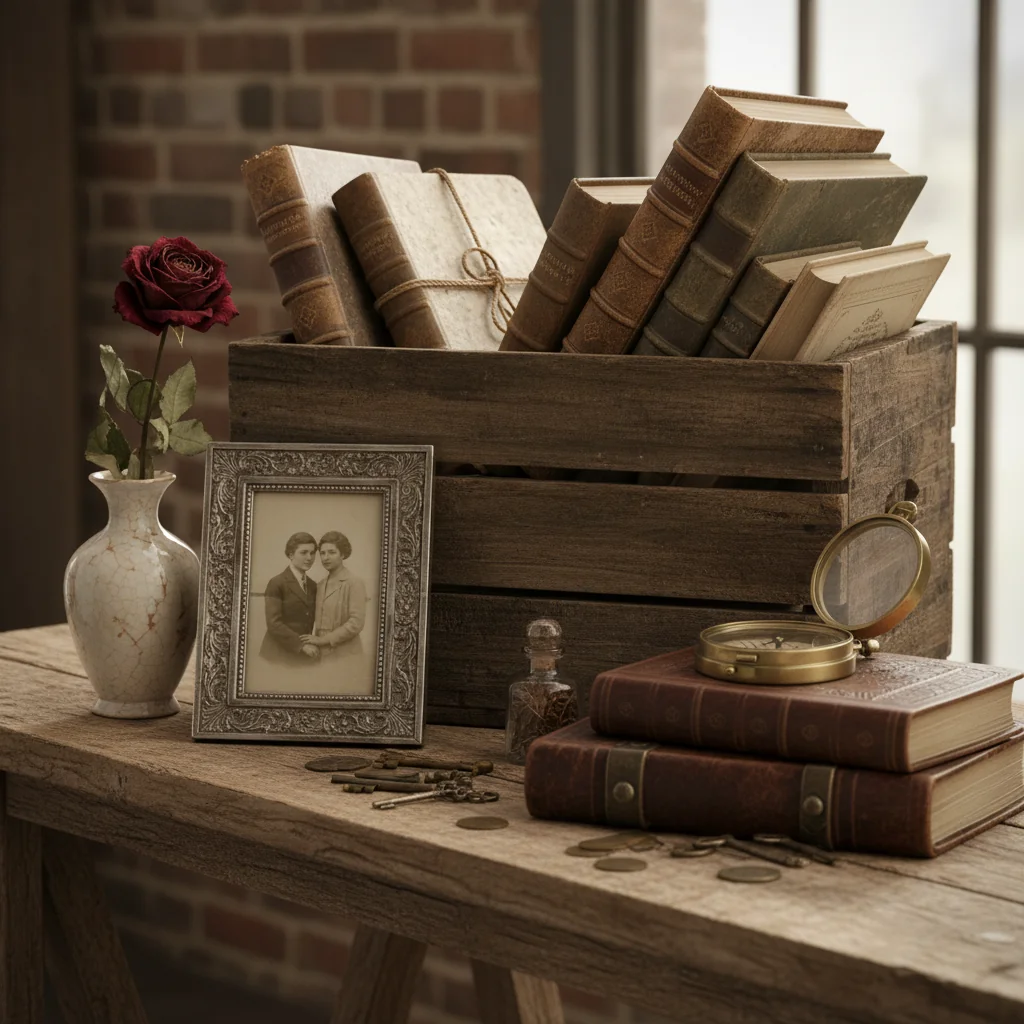
Once the foundational structure is in place, the true artistry lies in the finishing details. This is where you breathe life and personality into your BILLY hack, allowing it to shed its mass-produced skin. Begin with painting. A uniform coat of paint, preferably a high-quality, durable interior paint in a semi-gloss or satin finish, is non-negotiable. Don't be tempted to skip priming, especially on the laminate surfaces. A good primer ensures adhesion and a smooth, professional finish that won't chip or peel. Choose a color that either matches your wall color for a truly integrated look or a contrasting shade that makes the built-in a focal point. Imagine the rich, earthy scent of fresh paint filling the room as you apply those first deliberate strokes, watching the laminate disappear under a bespoke hue.Beyond paint, consider the hardware. Swapping out standard knobs or pulls for something more substantial and decorative can instantly upgrade the aesthetic. Think brass, wrought iron, or ceramic—pieces that carry a sense of history or craftsmanship. I often scour flea markets and estate sales for unique hardware. My years spent exploring antique markets have taught me that these small, often overlooked elements are potent storytellers. There's a particular warmth to the smooth, aged brass pull I found at a tiny shop off Ballard Avenue that now adorns the custom-built drawers of my own office built-in. It feels substantial under the hand, a tactile whisper of history. For guidance on sourcing these distinctive elements, you might find inspiration in The Art of Thrifting: My Top 5 Rules for Finding Premium Decor at Estate Sales. Beyond hardware, consider adding lighting. Integrated LED strip lights along the front of shelves or small puck lights embedded in the top panel can create dramatic accent lighting, highlighting your display items and adding a sophisticated glow. This not only enhances the visual appeal but also adds a layer of practical functionality, making the unit feel truly custom-made.
Curating with Intention: Integrating Smart Storage and Style
With the physical transformation complete, the final, and arguably most personal, step is to style your new built-in with intention. This is where functional design meets personal expression. Avoid the common pitfall of simply filling every available space. Instead, approach your shelving as a curated display, a narrative of your life and interests. Begin by decluttering mercilessly. Only items that bring you joy, serve a purpose, or hold sentimental value deserve a spot on these new, thoughtfully crafted shelves. The organized abode, after all, isn't just about aesthetics; it’s about a feeling of calm and purpose.Consider the interplay of varying heights, textures, and negative space. Group items in odd numbers, mix vertical books with horizontal stacks, and intersperse decorative objects that break up visual monotony. Introduce natural elements like potted plants – a cascading Pothos or a sculptural Snake Plant can add life and a touch of organic softness. Think about how the light plays on different materials; the subtle gleam of a ceramic vase against the matte finish of a book cover, the way sunlight catches the edge of a framed photograph. For practicality, incorporate decorative bins or baskets on lower shelves to hide away less aesthetically pleasing items like charging cables, remote controls, or children’s toys. These elements maintain visual continuity while providing essential, hidden storage. Furthermore, integrate smart home technology discreetly. Perhaps a small smart speaker tucked away on a shelf, or a charging station hidden within a decorative box. The goal is a space that works tirelessly for you without betraying its functional sophistication. This thoughtful approach ensures your BILLY built-in is not merely beautiful but also a highly efficient and deeply personal reflection of your home's unique character. It's about creating a sense of order that resonates with your daily rhythms, a beautiful backdrop for a life well-lived.
The journey from a flat-packed box to a genuinely bespoke built-in is one of patience, precision, and a willingness to see potential beyond the obvious. These IKEA BILLY bookcase hacks aren't merely about saving money; they're about reclaiming agency in your living space, proving that elegant, tailored design isn't exclusive to custom fabrication. By focusing on structural integrity, thoughtful finishing, and intentional styling, you transform a mass-produced item into a cherished architectural feature. The satisfaction derived from stepping back and beholding a wall that now feels complete, purposeful, and reflective of your unique aesthetic is immense. It's the quiet triumph of pragmatic design, a testament to the power of a keen eye and a steady hand. Investing your time and effort in these details yields a dividend far greater than the initial monetary savings: a space that truly feels like home, crafted by you, for you. SCORE: 9.1/10
Key Facts
| Core Material | Particleboard with paper foil/paint |
| Average Cost per Unit (Tall) | $59.00 - $89.00 |
| Standard Depth | 11 inches (28 cm) |
| Customization Time (Moderate Hack) | 1-3 weekends |
| Required Tools | Drill, Saw, Level, Measuring Tape, Paint Supplies |
| Style Versatility | Modern, Traditional, Farmhouse, Transitional |
| Weight Capacity per Shelf | 66 lbs (30 kg) |
| Common Expansion Modules | OXBERG Doors, OMLOPP Lighting |