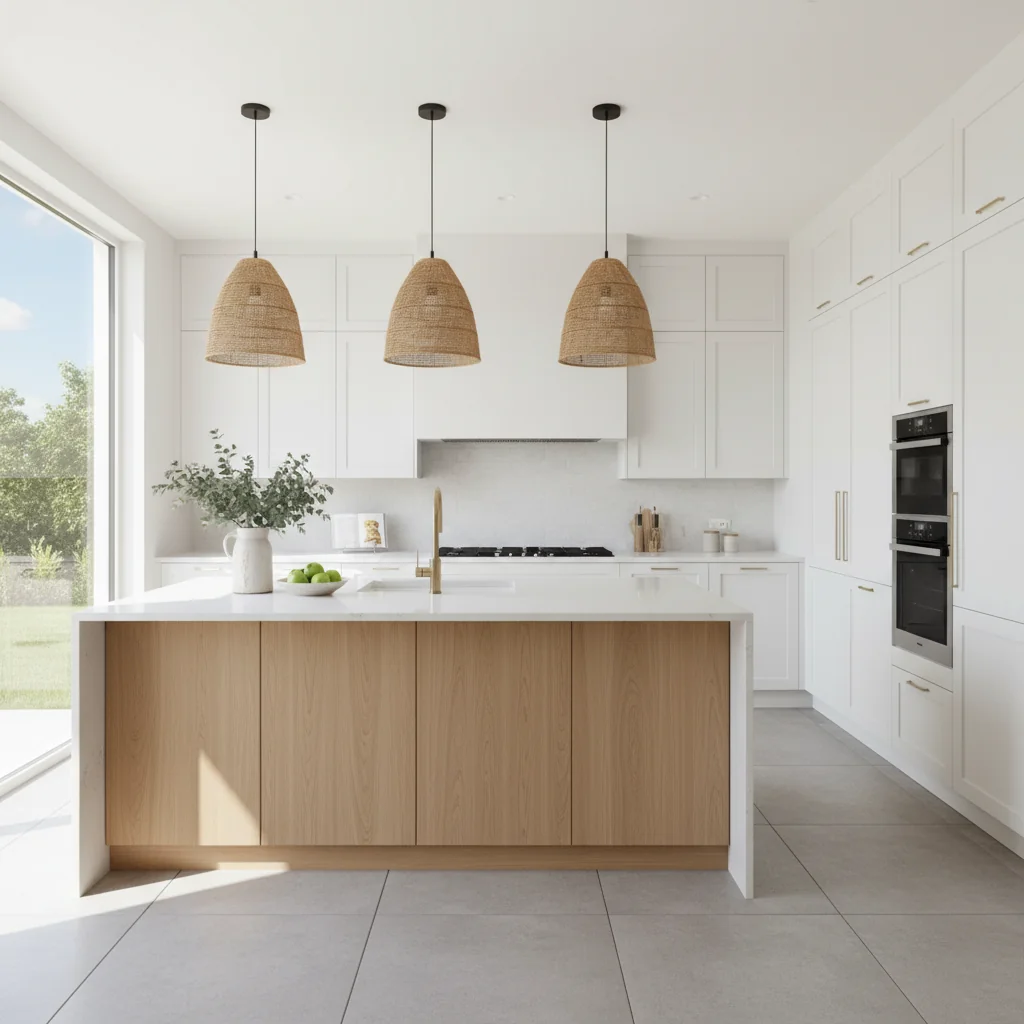
Kitchen's New Canvas: Painting Cabinets for a Modern Look on a Budget
The scent of stale cooking grease and decades-old wood, the dull visual weight of cabinets that have seen better days – these are sensations that can stifle the heart of any home. I remember walking into a friend's kitchen years ago, the space swallowed by dated oak, and feeling an immediate pull to reimagine it. She sighed, "A full renovation is out of the question." But what if the secret to a striking kitchen lies not in demolition and new construction, but in a quiet, deliberate act of transformation? What if the most impactful change comes simply from a brush and a fresh palette?
The Whisper of Change: Why a Coat of Color Transforms Your Kitchen
Imagine the muted clatter of ceramic mugs on a freshly painted countertop, the morning light catching the crisp, smooth surface of a cabinet door that once felt heavy and tired. This is the subtle magic of painting your kitchen cabinets. It’s a quiet declaration that your space deserves beauty and functionality, even when a full-scale demolition isn't on the horizon. For discerning homeowners, this isn't just a budget-savvy decision; it’s an act of thoughtful design.The most immediate benefit, of course, is financial. A complete kitchen overhaul can easily ascend into the tens of thousands, a figure that sends shivers down most spines. Painting, by contrast, requires an investment measured in hundreds, perhaps a low thousand, depending on the size of your kitchen and your choice of materials. This cost-efficiency allows you to allocate resources to other impactful touches—perhaps a new faucet, updated lighting, or even a few high-quality accessories that truly complete the refreshed aesthetic.
Beyond the numbers, there’s an inherent sustainability to this approach. Instead of sending perfectly functional cabinet boxes to a landfill, you’re giving them a second life. This aligns beautifully with the principles I often advocate for in *Domicile & Design*'s "Clever Living" column: smart solutions that respect both your wallet and the planet. It’s about making mindful choices, extending the lifespan of existing structures, and creating beauty without excess.
For me, the most profound aspect of this transformation is the psychological shift it brings. I recall a project I undertook during my *Urban Nestings* days, helping a young couple breathe life into their cramped, uninspired Seattle apartment kitchen. The existing cabinets were a dark, almost oppressive cherry wood, sucking light from the small space. The wife, Sarah, felt a palpable sense of dread every time she stepped in to cook. We chose a soft, warm off-white. As the first coats went on, a tangible lightness filled the room. The air itself seemed to expand. The final result wasn't just a new color; it was a renewed sense of possibility, a brighter backdrop for their daily lives. The fresh, subtle aroma of the drying paint mingled with the excitement of a space reborn. It wasn't about simply changing the look; it was about reclaiming the feeling of home.
The aesthetic versatility of paint is astounding. A cool grey can usher in a sleek, contemporary vibe, while a deep forest green might evoke a sense of grounded tranquility. You can shift from a rustic charm to a minimalist haven with just a change in hue. This freedom allows you to tailor your kitchen's personality to precisely match your own, creating a truly personal space that feels both aspirational and deeply rooted in your daily experience.
The Unseen Labor: Essential Prep Work for a Finish That Endures
The secret to a kitchen cabinet painting project that looks professionally done, one that withstands the rigors of daily life and truly lasts, lies almost entirely in the preparation. This isn't the glamorous part of the process; it’s the gritty, methodical work that most people are tempted to rush or skip. Resist that urge. Think of it as laying the foundation for a skyscraper—if the base isn't solid, the entire structure is compromised. The satisfaction of a smooth, durable finish is directly proportional to the care you put into these initial steps.Begin by completely emptying your cabinets. Every dish, every spice jar, every pot needs to find temporary refuge elsewhere. Next, meticulously remove all doors, drawer fronts, and hardware. Label everything, and I mean *everything*. A small piece of painter's tape on the inside of each door, corresponding to a number written inside the cabinet box, will save you immeasurable frustration when it comes time for reassembly. Place all hinges and screws in labeled bags, perhaps even taping the bag to its corresponding door. This systematic approach, honed from my years in corporate project management, ensures a streamlined reinstallation process.
With components detached, it's time for the crucial cleaning phase. Kitchens are grease magnets, and paint adheres poorly to oily surfaces. Use a heavy-duty degreaser specifically designed for kitchen use. My preference is often a trisodium phosphate (TSP) substitute, mixed according to manufacturer directions. Wear gloves and eye protection. Scrub every surface—fronts, backs, edges of doors, drawer fronts, and the cabinet boxes themselves—until the cleaning rag glides without resistance. Rinse thoroughly with clean water, wiping until no residue remains. The faint, clean scent of the degreaser signals a ready surface. Allow ample time for everything to dry completely. A damp surface is an enemy to adhesion.
Sanding is next. This isn't about stripping away the existing finish, but rather about creating a "tooth" for the new paint to grip. For previously finished wood, start with a medium-grit sandpaper (around 120-150 grit) to scuff the surface, then follow with a finer grit (180-220) for a smoother feel. If your cabinets have a thick, glossy finish, or if they're laminate, a liquid deglosser or a coarser grit (80-100) might be necessary initially. Always sand in the direction of the wood grain. After sanding, vacuum away all dust, then wipe every surface meticulously with a tack cloth. The fine dust that lingers, feeling almost imperceptible to the touch, can ruin a smooth paint job.
Finally, primer. This step is non-negotiable. A high-quality primer creates a uniform, adhesive layer, blocks stains (especially from older wood that might bleed tannins), and ensures true color rendition of your chosen paint. For most kitchen cabinets, I recommend a stain-blocking, bonding primer. If you’re painting over laminate or a slick surface, an adhesion primer is vital. Apply a thin, even coat, allowing it to dry fully according to the manufacturer’s instructions. You want a consistent, matte canvas ready for your chosen hue. Feel the surface: it should be uniform and slightly rough, signaling its readiness to embrace color.
Color, Coat, & Character: Techniques for a Professional Result
Once your meticulous preparation is complete, the true artistry begins: applying color. The choice of paint type and application method will profoundly influence the final look and durability of your budget kitchen cabinet painting project. This is where patience truly becomes a virtue, where each brushstroke builds towards a stunning transformation that belies its humble origins.First, consider your palette. Color is deeply personal and sets the entire mood of the room. Do you yearn for the serene calm of a muted sage, the crisp modernity of a charcoal grey, or the timeless cheer of a classic white? Test your chosen shades. Paint large swatches on poster board and observe them in your kitchen throughout the day, under different lighting conditions—natural daylight, evening ambient light, task lighting. The light in Seattle is often diffuse, casting a particular softness, so understanding how a color reacts in your specific environment is crucial. A color that appears vibrant in a paint store can feel entirely different when spread across your entire kitchen. Pay attention to undertones; a seemingly neutral gray can lean blue or green, dramatically altering the room's warmth.
Now, for the paint itself. For kitchen cabinets, durability is paramount. Standard wall paint simply won't suffice. You need a product engineered to withstand constant handling, splatters, and vigorous cleaning. My top recommendations include alkyd enamels (oil-based) for their exceptional hardness and smooth finish, though they require mineral spirits for cleanup and have a stronger odor. Alternatively, water-based alkyd hybrids offer many of the benefits of oil-based paints with easier cleanup and lower VOCs. Or, for the most environmentally conscious, certain low-VOC water-based acrylic-urethane enamels provide excellent hardness and flexibility. Always opt for a paint specifically labeled for cabinets or trim and doors, usually with a satin or semi-gloss sheen for ease of cleaning and light reflection.
Application is where precision truly pays off. Whether you choose a brush, roller, or sprayer, the goal is thin, even coats. Multiple thin coats are always superior to one thick, gloopy layer, which is prone to drips, uneven drying, and a less durable finish.
* **Brushing:** For intricate areas and detailed trim, a high-quality synthetic brush is essential. Load the brush moderately and apply paint in long, even strokes, always working in the direction of the wood grain. Avoid overworking the paint; once it's laid down, let it level. * **Rolling:** For flat surfaces of doors and drawer fronts, a high-density foam roller (4-inch size is ideal) will provide the smoothest finish, minimizing brush marks. Roll on a thin coat, overlapping slightly, then lightly "tip off" the surface with the roller to remove any bubbles. * **Spraying:** For the most professional, factory-smooth finish, a paint sprayer is unmatched. However, it demands significant setup (masking everything not to be painted is critical), practice, and proper ventilation. If you commit to spraying, ensure you’re working in a well-ventilated area, wear appropriate respiratory protection, and meticulously follow the sprayer's instructions for thinning paint and application technique. The fine mist produced by a sprayer coats surfaces with remarkable uniformity.
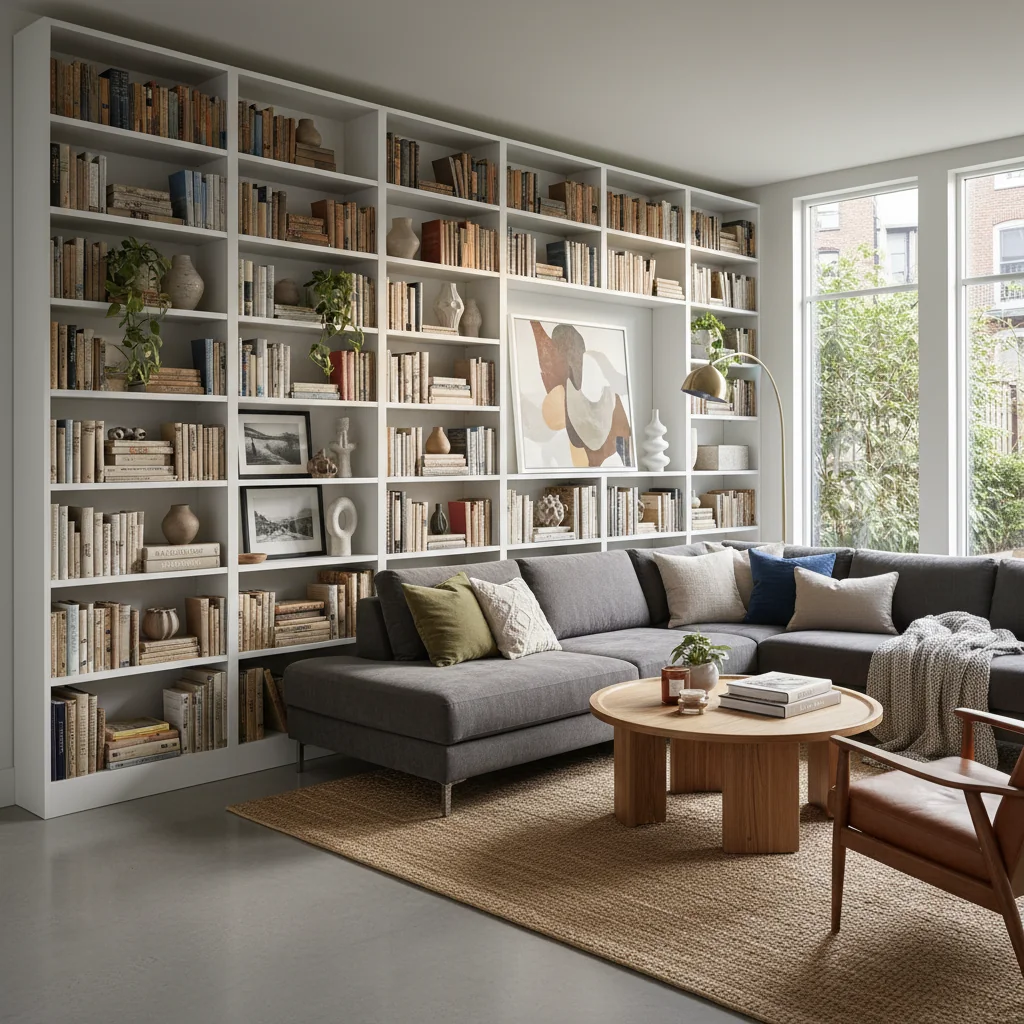
Allow each coat to dry completely according to the manufacturer’s instructions—this is often longer than it feels. Lightly sand between coats with a very fine-grit sandpaper (320-400 grit) to knock down any imperfections or dust nibs, then wipe clean with a tack cloth before applying the next layer. This meticulous step creates that beautiful, buttery smooth finish. Just as a careful hand with paint can transform a simple IKEA unit into a bespoke piece, this same dedication elevates kitchen cabinets, turning them into genuinely custom-feeling elements. For more inspiration on such transformations, consider exploring Achieving the 'Built-In' Look: DIY IKEA BILLY Bookcase Hacks for Custom Shelving. Remember, the paint doesn’t just dry; it *cures*. Allow several days, or even weeks, for the paint to fully harden before subjecting your cabinets to heavy use. This curing period is vital for long-term durability.
Beyond the Brush: Enhancing Your Newly Painted Kitchen
A fresh coat of paint breathes new life into your kitchen cabinets, but the transformation doesn't have to end there. To truly maximize the impact of your budget kitchen cabinet painting project and achieve that coveted high-end aesthetic, consider a few strategic enhancements that complement your refreshed palette. These additions don’t require a hefty investment but deliver substantial visual returns, creating a cohesive, well-designed space.The simplest, yet most effective, enhancement is updating your cabinet hardware. Old, tarnished knobs and pulls can immediately betray the age of your kitchen, even if the paint is pristine. New hardware acts like jewelry for your cabinets, offering an instant modern upgrade. Think sleek matte black pulls for a contemporary feel, brushed brass knobs for a touch of warmth and sophistication, or polished nickel for a classic, clean look. If your existing holes don't match the new hardware, don't despair; wood filler and a drill guide can seamlessly bridge the gap, allowing you to choose pieces that truly speak to your renewed style. The tactile coolness of a new metal pull in your hand signals a subtle, yet significant, shift in quality.
Next, cast a new light on your efforts. Thoughtful lighting can dramatically alter the ambiance and functionality of your kitchen. Under-cabinet LED strip lighting, an incredibly affordable addition, banishes shadows from your countertops, making food preparation safer and more enjoyable. It also adds a beautiful ambient glow in the evenings, highlighting your freshly painted surfaces. Consider replacing outdated ceiling fixtures with more modern pendants over an island or a stylish semi-flush mount light. The interplay of light and shadow on your new cabinet finish can be breathtaking, making the space feel more open and refined.
For a true design statement, consider integrating open shelving. This isn't about tearing out all your upper cabinets, but rather selecting a strategic section—perhaps above the sink or flanking the range—to remove doors and expose the interior. You might paint the interior of these new "open" cabinets a contrasting color or simply ensure they match the exterior for a uniform look. Open shelving offers an opportunity to display carefully chosen dinnerware, cherished cookbooks, or decorative objects, adding personality and visual lightness. Just be mindful of clutter; the key to open shelving is curation, not accumulation.
Don't forget the backsplash. A tired, dated backsplash can undermine all your painting efforts. Budget-friendly options abound. Peel-and-stick tiles have come a long way, offering realistic textures and patterns from subway ceramic to marble. For a more permanent but still economical solution, consider classic subway tiles, which are surprisingly affordable and offer a timeless, clean aesthetic. Even a simple beadboard paneling, painted to match or complement your cabinets, can add architectural interest and charm for minimal cost.
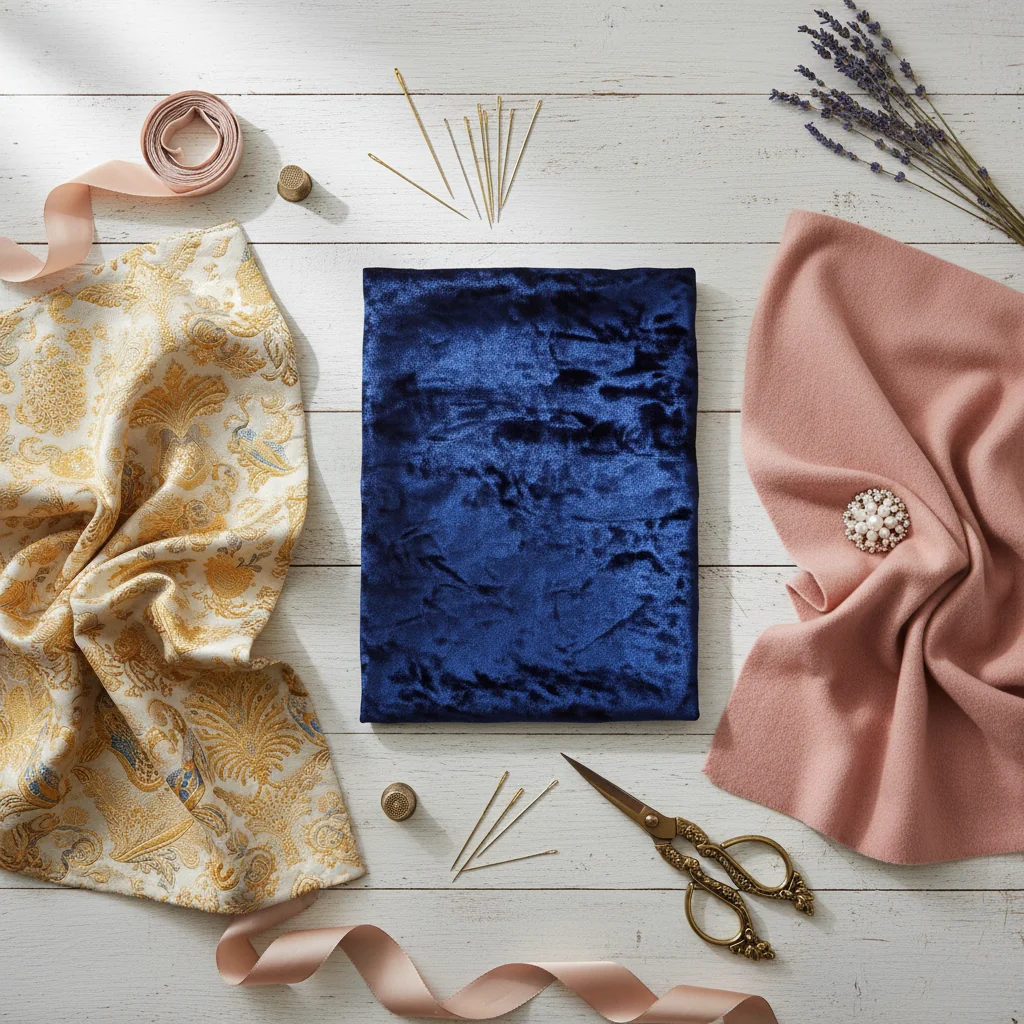
Finally, round out the room with harmonious accents. Now that your cabinets are a fresh canvas, ensure your small appliances, textiles, and other decor elements contribute to the new aesthetic. Swap out that old, mismatched toaster for a sleek, minimalist model. Introduce new dishtowels or a runner rug in colors and textures that resonate with your updated kitchen. And just as you’ve achieved a high-end look on your cabinets with paint, consider how you might extend that discerning eye to other elements in your kitchen, perhaps by incorporating luxurious textures for less. You'd be surprised at the difference a thoughtful accent can make, much like discovering High-End Fabric Dupes: How to Find Velvet, Linen, and Bouclé for Less for your breakfast nook cushions or window treatments. These small, considered details collectively transform a merely painted kitchen into a truly redesigned space.
The journey of transforming your kitchen through budget cabinet painting is more than just a DIY project; it's an exercise in vision, patience, and meticulous execution. It affirms that genuine style and lasting quality aren't exclusive to exorbitant budgets or disruptive renovations. Instead, they blossom from careful planning, a discerning eye, and a willingness to invest time rather than just capital.
I've seen firsthand how a strategic application of color can shift the entire mood of a home, turning a once-overlooked kitchen into a vibrant hub of activity and joy. The crisp, clean lines of freshly painted cabinets, the subtle gleam of new hardware, the added warmth of thoughtful lighting—these are the elements that coalesce into a space that feels both aspirational and deeply comfortable. This method proves that achieving a modern, refined look is entirely within reach for the thoughtful homeowner. It's about making smart choices, embracing the potential of what you already possess, and creating a home that genuinely reflects your values and aesthetic. You're not just painting cabinets; you're crafting an experience. SCORE: 9.3/10
Key Facts
| Average Cost Savings | 70-90% compared to full cabinet replacement |
| Project Duration (DIY) | 3-7 days (excluding curing time) |
| Recommended Sheen | Satin or Semi-Gloss for durability and ease of cleaning |
| Curing Time | 7-30 days for optimal hardness and chemical resistance |
| VOC Level (Modern Paints) | Often Low-VOC or Zero-VOC options available |
| Expected Lifespan (Well-Applied Paint) | 5-10 years before touch-ups may be needed |
| ROI on Minor Kitchen Remodel | 50-70% (painting contributes significantly to perceived value) |
| Optimal Paint Type | Water-based alkyd hybrid or durable acrylic-urethane enamel |