DIY Plaster Paint Finish: Crafting Old-World Texture for Modern Homes
There’s a quiet satisfaction in running your palm across a surface imbued with history, a wall that whispers tales of skilled hands and natural elements. Venetian plaster, with its subtle shifts in light and shadow, its cool, smooth touch, embodies this perfectly. It’s an aesthetic that speaks of enduring elegance, grounding a space with an almost ancient calm. Yet, the true artisan application often comes with a price tag that can make even the most dedicated design enthusiast pause. For years, I observed this tension in clients – a profound desire for that rich, organic texture, met with the stark reality of budget constraints. But what if that coveted look, that tactile depth, was within reach, achievable with a weekend’s effort and a surprisingly modest investment? It absolutely is.
The Allure of Imperfection: Understanding the Plaster Aesthetic
The appeal of a true plaster finish isn't merely visual; it’s an experience. Imagine a centuries-old villa in Tuscany, where sunlight streams through a tall window, illuminating a wall that seems to breathe with a soft, mottled luminosity. It's not a uniform surface; rather, it’s a living canvas of subtle undulations, where pigments deepen and lighten with the changing light. This quality—a deliberate, almost poetic imperfection—is what sets plaster apart from the flat, monolithic plane of standard painted drywall. It eschews the manufactured sheen for something more primal, more authentic.Traditional Venetian plaster, or *stucco veneziano*, achieves this through multiple thin layers of lime-based plaster, meticulously troweled and burnished to create an almost marble-like depth. The process is lengthy, labor-intensive, and requires a specific set of skills passed down through generations. My work in project management taught me to appreciate efficient processes, but my design passion revealed the beauty in deliberate, slow craftsmanship. The resulting finish is breathable, durable, and develops a rich patina over time. It offers a sophisticated texture that can anchor a room, allowing other design elements—from clean-lined modern furniture to antique finds—to truly sing. This deep character, this sense of hand-applied artistry, is what we’re aiming to capture with our DIY approach, translating that old-world soul into a contemporary, accessible technique. We’re not duplicating the chemistry, but we are absolutely channeling the spirit.
Gathering Your Artisan Toolkit: Materials and Mindset for a DIY Plaster Finish
Embarking on a DIY plaster paint finish isn't about perfectly replicating historical techniques; it's about artfully interpreting them with readily available materials. Your primary ingredient will be joint compound, sometimes called drywall mud or spackle. It's inexpensive, dries quickly, and is surprisingly forgiving. For a typical accent wall (around 100-150 sq ft), a single 4.5-gallon tub of lightweight joint compound should be ample. You'll also need a high-quality primer, essential for ensuring adhesion and a consistent base for your compound. For color, select a matte interior latex paint in your desired shade – think muted, earthy tones for a classic look, or deeper, more saturated hues for a dramatic statement. I tend to favor whites, greys, and warm taupes; they allow the texture to truly be the star.Your tools are just as critical as your materials. Forget flimsy plastic putty knives. Invest in a good quality stainless steel trowel, ideally 6-inch or 8-inch, and a smaller 3-inch putty knife for tighter spots. The trowel's flexibility and smooth edge will be your best friend in achieving those characteristic streaks and overlapping layers. Don't forget drop cloths, painter's tape, a sanding sponge (220-grit or finer), and a damp cloth. The mindset here is one of playful experimentation. I remember working on a "Clever Living" column piece for *Domicile & Design* years ago, exploring budget-friendly wall treatments. I spent an entire afternoon experimenting on large sheets of drywall scraps, blending different ratios of compound and paint, trying various trowel angles. It felt less like a chore and more like sculpting. Embrace the process, let go of the need for perfection, and trust your eye. This isn't about flawlessness; it's about cultivated character.
The Art of Application: Layering Texture for Depth and Character
Preparing your wall is paramount. Clean the surface thoroughly, fill any holes, and smooth out imperfections. Then, apply a high-quality primer. This step ensures an even absorption of the joint compound and prevents any existing wall color from bleeding through your lighter plaster finish. Once the primer is dry, you're ready to begin. The magic of this technique lies in building thin, overlapping layers, much like an artist working with glaze.Load a small amount of joint compound onto your trowel. Starting in an inconspicuous corner, apply a very thin, irregular layer to the wall. Use varied, sweeping strokes, moving the trowel in different directions – arcs, diagonals, short jabs. The goal for this first coat isn't complete coverage, but rather to establish a textured base with plenty of peaks and valleys. Don't press too hard; let the compound glide. The beauty comes from the imperfections, the slight ridges left by the trowel, the unevenness. Allow this first layer to dry completely – typically a few hours. Once dry, lightly sand any overly prominent ridges with your fine-grit sanding sponge, just enough to knock down sharp points without losing the texture. Wipe away dust with a damp cloth.
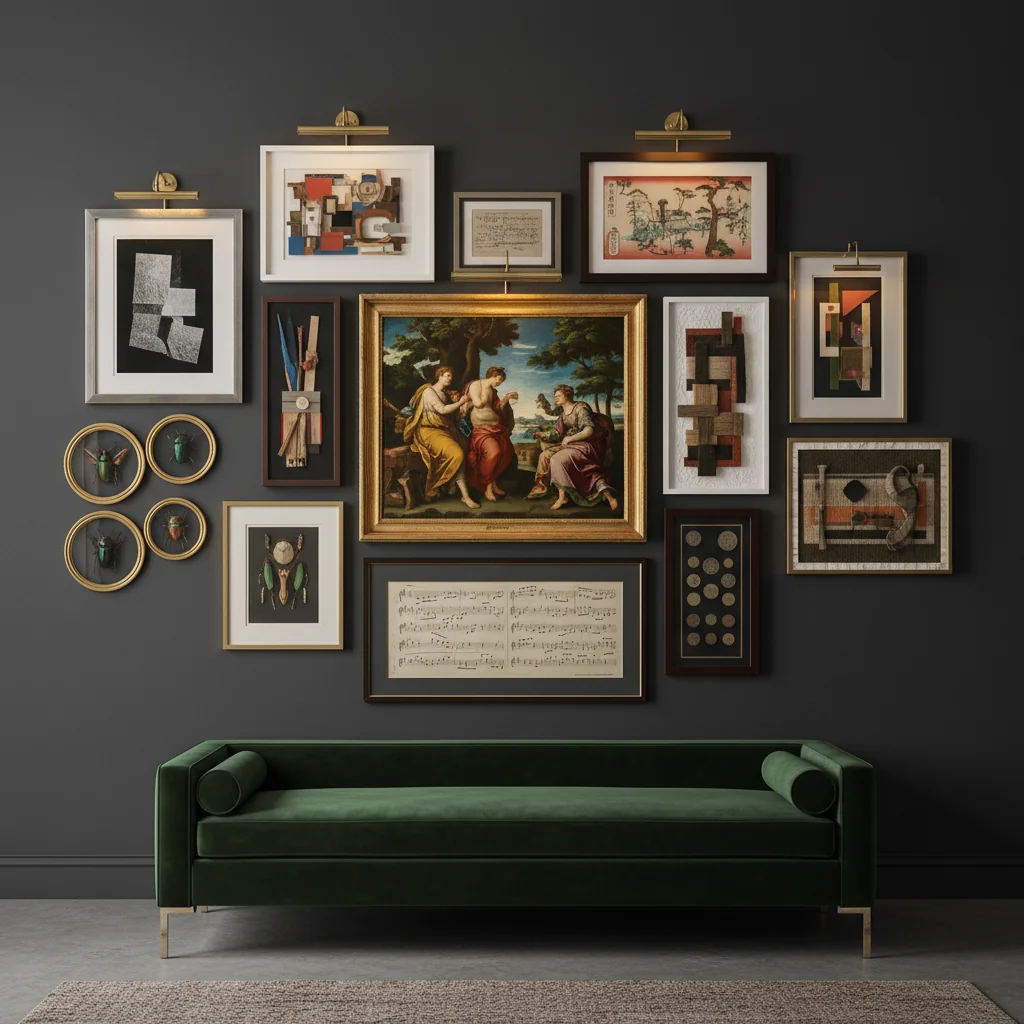
Now comes the second, and sometimes third, coat. This is where you build depth. Mix a portion of your chosen matte latex paint directly into the joint compound – start with a ratio of about 1 part paint to 4 parts compound, adjusting to achieve your desired color and consistency. This colored compound will enhance the layered effect. Apply this colored layer over the first, using the same varied, overlapping strokes. You'll notice the subtle shifts in color as the trowel drags, revealing hints of the uncolored layer beneath. For a more dramatic effect, you can even use a slightly different shade of colored compound for a third layer. Remember the mantra: thin layers, varied directions. Once dry, a final light sanding and wipe-down will soften the overall look, creating that smooth, yet visually rich, finish. To truly appreciate how different elements come together in a thoughtfully designed space, consider how your newly textured wall interacts with other focal points. Affordable Art That Looks Expensive: Where to Find Prints and Originals on a Budget can provide the perfect visual counterpoint, adding another layer of personality without overwhelming your budget.
Beyond the Wall: Integrating Your New Finish into a Thoughtful Design
A DIY plaster paint finish transforms a flat wall into a statement piece, imbuing the room with an immediate sense of grounded elegance. The key now is to ensure the rest of your design choices support and enhance this sophisticated backdrop, rather than competing with it. Think about how the unique texture interacts with light. Natural light will dance across the surface, highlighting its subtle variations throughout the day. In the evening, well-placed sconces or accent lighting can cast dramatic shadows, amplifying the wall's character.When selecting furniture and decor, lean into natural materials and forms. Warm woods, woven textiles like linen or raw silk, and artisanal ceramics will resonate beautifully with the organic feel of the plaster. Consider minimalist silhouettes for furniture pieces; their clean lines will provide a contemporary contrast to the wall's old-world texture. For color palettes, soft neutrals, deep earth tones, and muted greens or blues often complement a plaster finish, creating a serene and cohesive atmosphere. Avoid overly busy patterns or highly reflective surfaces, which can detract from the wall's subtle charm.
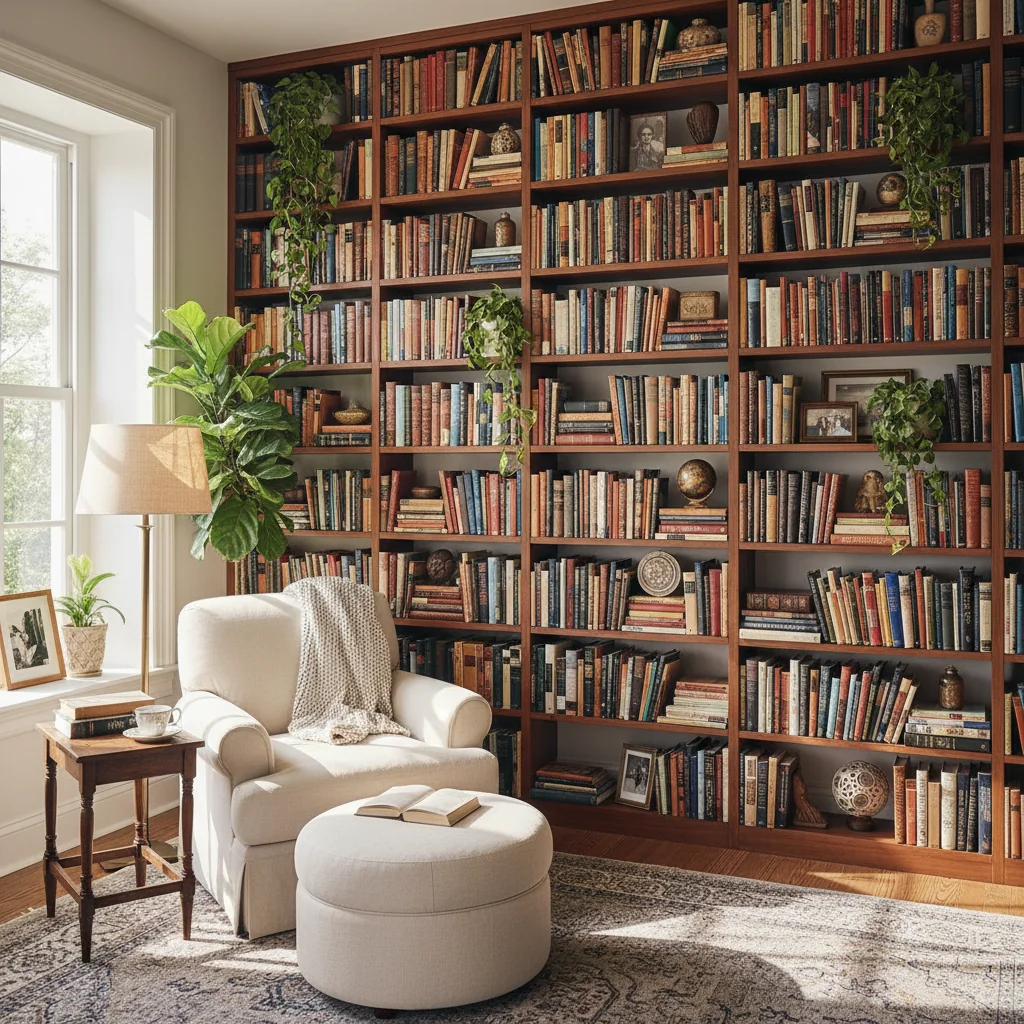
This finish is remarkably durable for a DIY project, but occasional touch-ups might be needed in high-traffic areas. Keep a small amount of your colored compound mixture on hand for seamless repairs. The beauty of this technique is that minor imperfections only add to its authentic charm. This is also where careful consideration of your displayed items comes into play. Just as your walls now possess a considered depth, your personal collections deserve the same thoughtful approach. For inspiration on how to elevate your display areas, consider exploring Styling Your Bookshelves Like a Pro: The 5-Step Method for Curated Displays. A well-balanced room is always a dialogue between its elements.
The desire for spaces that feel both refined and deeply personal is universal. Our DIY plaster paint finish isn’t just a cost-effective alternative to a high-end technique; it’s an invitation to engage directly with your living environment, to infuse it with your own handprint. This approach allows you to achieve that coveted luminous depth and subtle texture, creating an atmosphere of quiet luxury without the prohibitive expense or specialized labor. The process itself is a rewarding one, a tangible connection to the artisan spirit, yielding a result that feels bespoke, enduring, and utterly unique to your home. It’s an intelligent design choice for the discerning homeowner, proving that aspirational aesthetics can indeed be within reach. The transformation it offers is profound, lending a sophisticated, grounding presence that truly elevates a room.
SCORE: 9.1/10
Key Facts
| Average Cost (DIY) | Under $100 per 150 sq ft |
| Application Time | 1-2 days (including drying) |
| Skill Level Required | Beginner to Intermediate |
| Primary Material | Lightweight Joint Compound |
| Durability | Good, comparable to matte paint with sealant |
| Aesthetic Impact | Adds luminous depth and organic texture |
| Best Use Cases | Accent walls, low-traffic areas |
| Tool Investment | Approx. $30 for quality trowel & putty knives |